 CivNodes
Citadel
Citadel lets you reinforce blocks so they can't be instantly broken by other players. Every reinforced block gains health, each hit chips away at it. Breaking through a wall, door, or chest takes real time and effort. Reinforcements are tied to a group, so your friends can share access while everyone else is locked out.
How Reinforcement Works
You reinforce a block by spending a reinforcement material (stone, iron, or diamond) from your inventory. Stronger materials give more health:
| Material | Health |
|---|---|
| Stone | 50 |
| Iron | 300 |
| Diamond | 2,000 |
Reinforcements slowly mature over time. A freshly placed reinforcement is weaker and easier to remove; once matured it reaches full strength. When you break your own reinforced block, you get the reinforcement material back. When an enemy breaks it, the material is lost.
Common Commands
| Command | Description |
|---|---|
| /cti | Click a block to see its group, health, and maturation status. |
| /ctr | Reinforce blocks that have already been placed onto a specific group . |
| /ctf | Reinforce a block at the same time you place it. |
| /cto | Turn Citadel off. |
Name Layer
Name Layer is the permission and group management system for CivNodes. It allows players to create groups, invite allies, assign roles, and grant specific permissions over Citadel reinforcements, Node claims, and group infrastructure.
Managing Groups
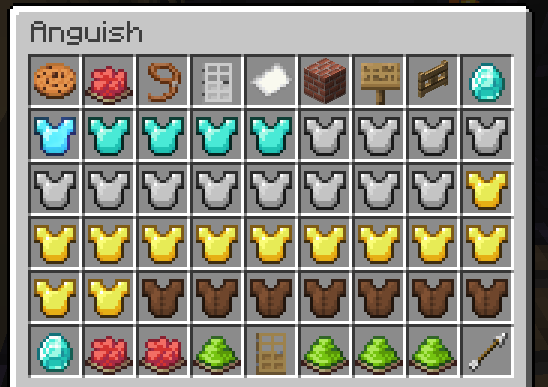
Groups consist of defined member ranks. By organizing your allies into a Name Layer group, everyone on the group automatically gains access to open reinforced doors, chests, and operate group factories.
Main Command
The primary way to manage your groups is through the interactive menu interface:
| Command | Description |
|---|---|
| /nl | Open the main Name Layer GUI to manage your groups, members, invites, and permissions. |
Nodes
Nodes are territories you claim to control who is allowed to build and reinforce inside your land. Inside a node you own, outsiders are prevented from placing Citadel reinforcements.
Claimed nodes require gold ingot upkeep and must belong to a group. Ocean territories cannot be claimed.
Placing a Node Controller
A node is claimed by placing a node controller. When placing your node controller:
- It must be placed in fortification mode (/ctf), the same Citadel mode you use to fortify blocks.
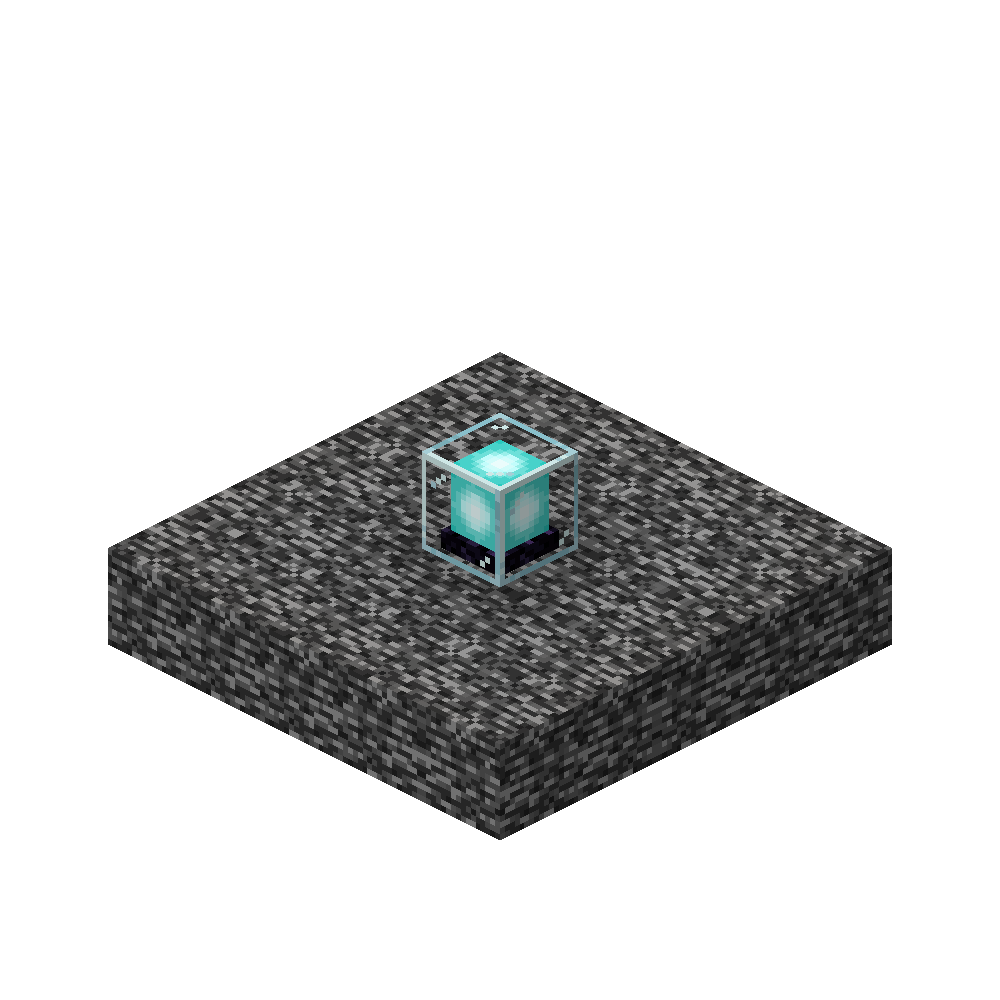
- It must be placed at bedrock.
- To fuel your node controller, simply shift-right-click it with gold ingots.
How a Node Holds Up Under Attack
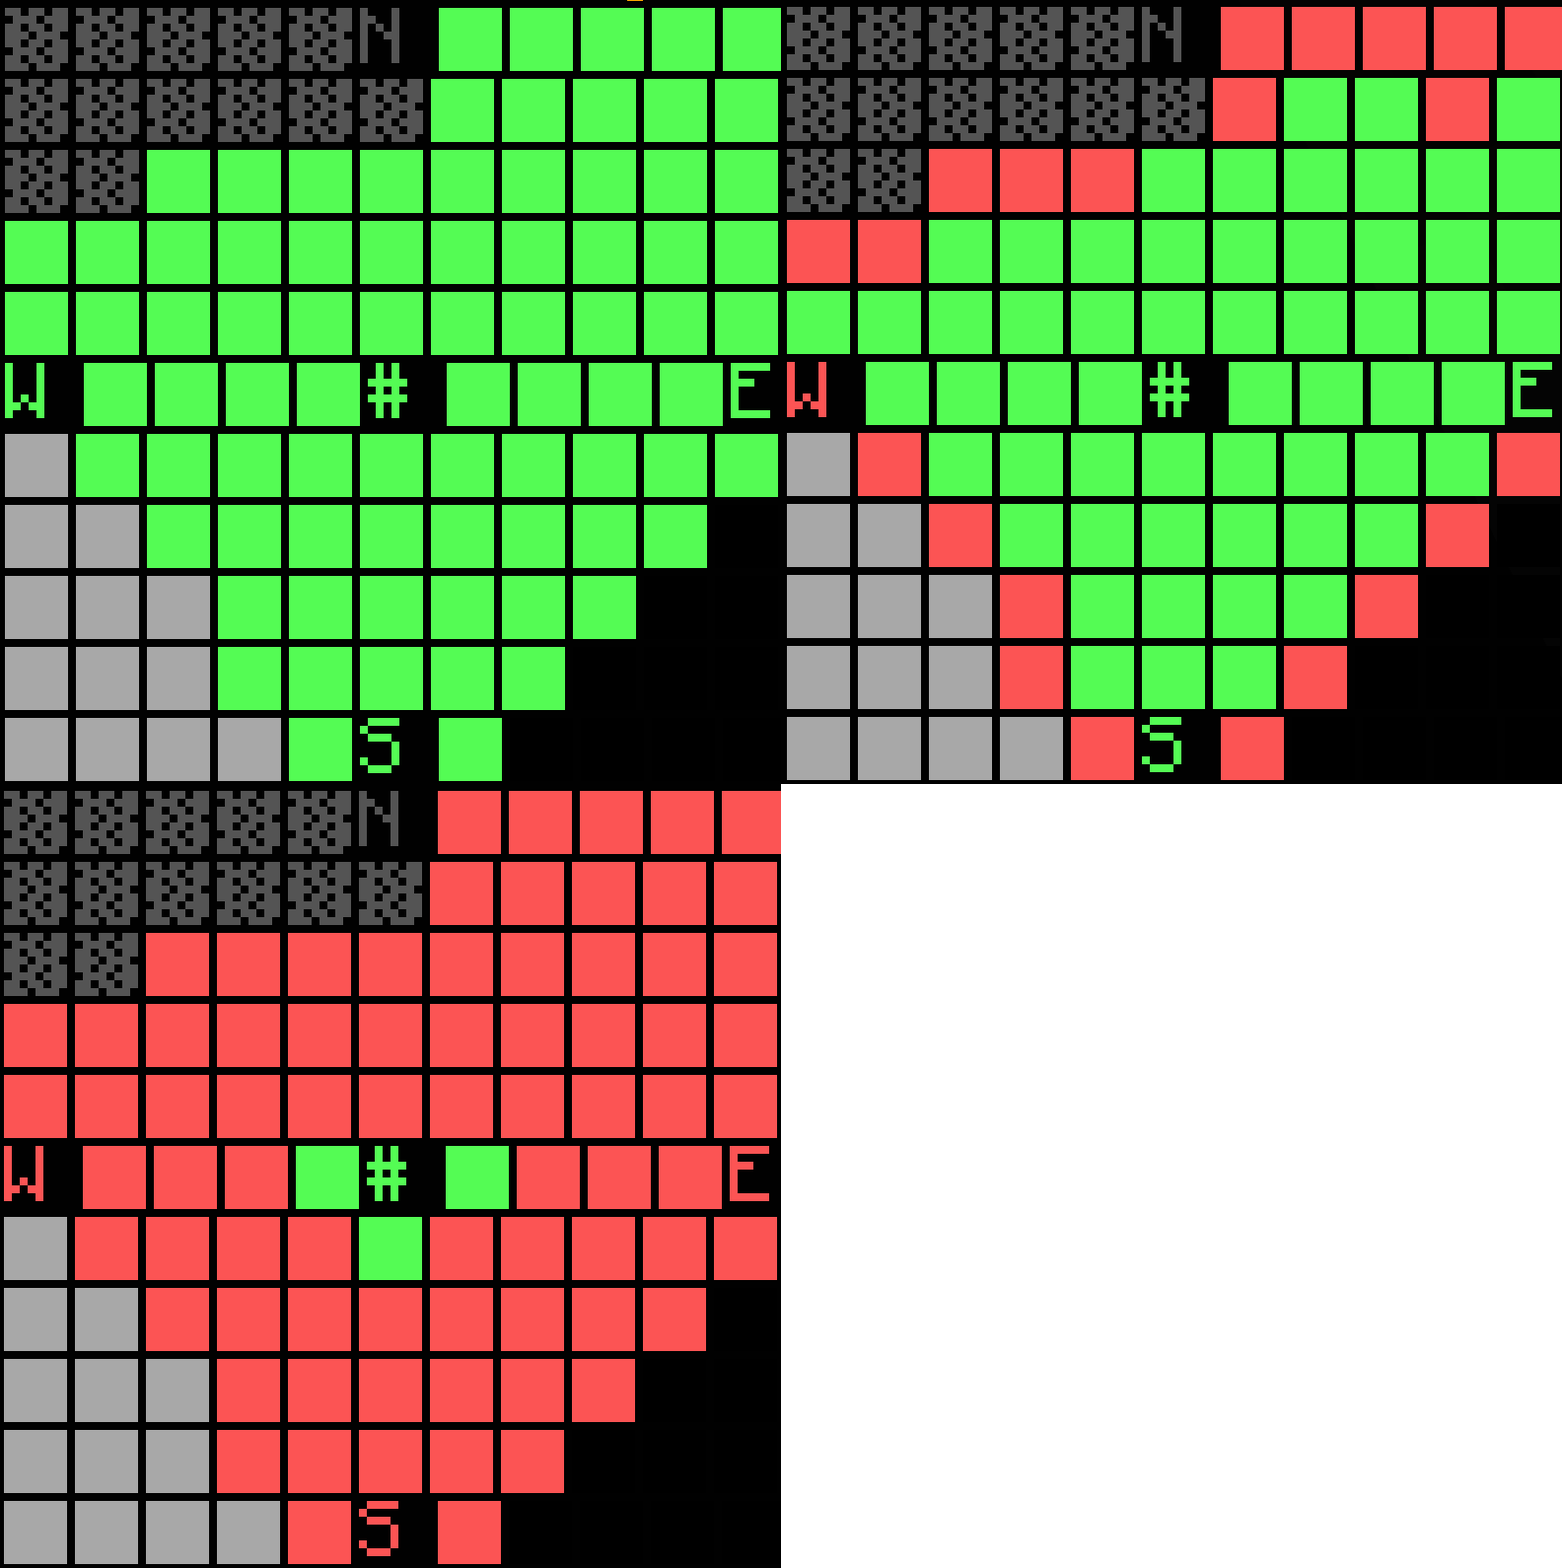
A node isn't all-or-nothing. At the heart of every node is a home chunk: the chunk where the node controller sits (marked with a # symbol on the map). The node spreads its protection outward from that home chunk like a bubble.
When an enemy tries to reinforce blocks inside your node, the node controller takes damage and loses health. As its health drops, the protected bubble shrinks inward toward the home chunk. The chunks on the outer edge lose protection first, and the home chunk is always the very last to fall.
Node Specialisations
Each node can be given a single specialisation upgrade that defines what it does.
| Specialisation | What it does |
|---|---|
| Agriculture | Chance for a bonus crop when a plant matures. A matured sapling pays back 3 saplings. Stacks freely. |
| Mining | Chance for a bonus ore (in ore-block form) into storage when a vein is revealed. Stacks freely. |
| Vault | Blocks all block placement in the protected area by anyone without access. Also unlocks the Absorption module. Limit: 1 per node. |
| Commerce | Pays Aether for trades with players outside your own group. More copies raise how many players earn a payout each day. Stacks freely. |
Slot Budget
Nodes start with 1 module slot and can be upgraded to a maximum of 3 slots.
Universal modules
- Sanctuary — Stops natural mob spawns in protected chunks. No fuel needed.
- Auto Compactor — Automatically compacts full stacks of bonus resources. Fuelled by Chests (spent per compaction, not over time).
- Speed — Speed for everyone in protected chunks. Fuelled by Compacted Sugar.
- Saturation — Refills the food bar in short bursts. Fuelled by Compacted Cooked Chicken.
- Conduit — Grants Conduit Power (water breathing, clear vision, faster underwater mining). Fuelled by Pufferfish.
- Oozing — Hostile mobs killed in the node have a small chance to burst into slimes. No fuel needed.
Modules restricted to specialized nodes
- Fertility (Agriculture) — Speeds up crop and sapling growth. No fuel needed.
- Ranching (Agriculture) — Chance to duplicate each drop of any mob dying in the node. No fuel needed.
- Haste Mining (Mining) — Gives Haste to everyone in protected chunks. Fuelled by High Carbon Steel.
- Absorption (Vault) — Gives everyone an Absorption shield, topped up periodically. Fuelled by Compacted Golden Apples.
- Efficient Trading (Commerce) — Doubles Aether paid out per trade. No fuel needed.
Modules that require no slot capacity
- Durability — Raises max HP. Each extra copy adds less than the last.
- Snitch — Broadcasts entry, login, logout, and protection-lost alerts for the node's chunks.
- Module Slots — Opens one more module slot per copy.
Prison Pearl
Prison Pearl changes what happens when you defeat someone. If you kill a player with an ender pearl in your hotbar, instead of respawning they become imprisoned inside the pearl and are teleported to The End until they're freed.
How It Works
- Kill a player with an ender pearl in your hotbar to "pearl" your target.
- The imprisoned player is held in The End and cannot return to the overworld until released.
- If the pearl is destroyed, the player will be freed.
Home-Territory Protection
If a player is pearled inside their own territory, their imprisonment is capped at 7 days, after which they are automatically released.
Factory Mod
Factory Mod lets you build factories to research and manufacture better items, gear, and weapons that you can't make with vanilla crafting alone.
What a Factory Looks Like
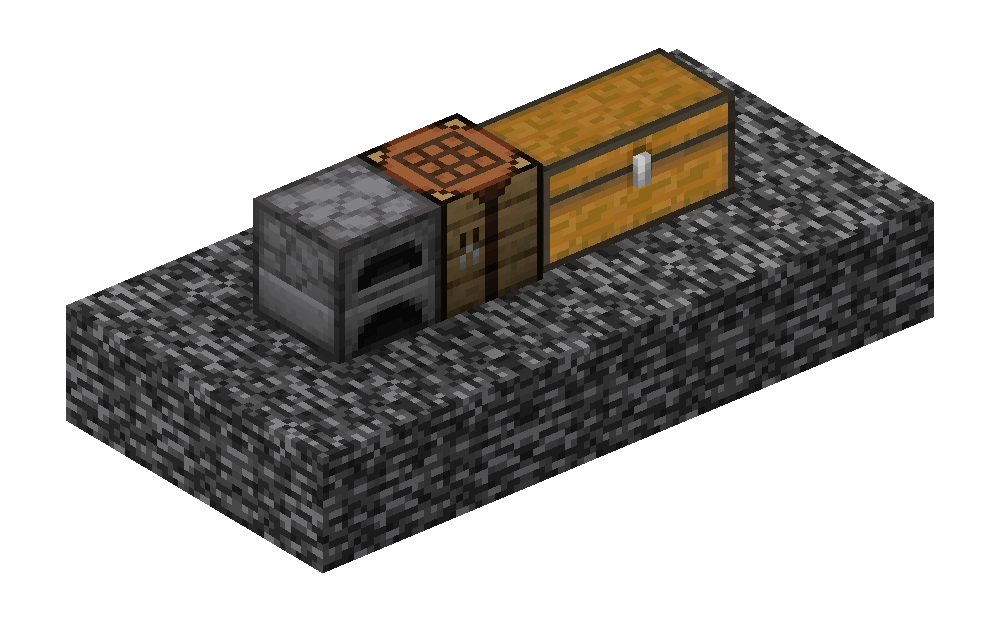
Every factory is built from three blocks: a crafting table, a furnace, and a chest placed next to each other.
Building and Running a Factory
- Build the structure: Place a furnace, crafting table, and chest together.
- Add creation items: Put the materials needed to create that factory into the chest. Run /fm to view creation recipes for all factories.
- Create it: Hit the factory with a stick. If the right creation items are present, it becomes a working factory.
- Fuel and feed it: Put charcoal in the furnace and input materials into the factory chest.
- Run a recipe: Select a recipe and activate the factory to begin production. It runs over time and deposits finished items into the chest.
Juke Alert
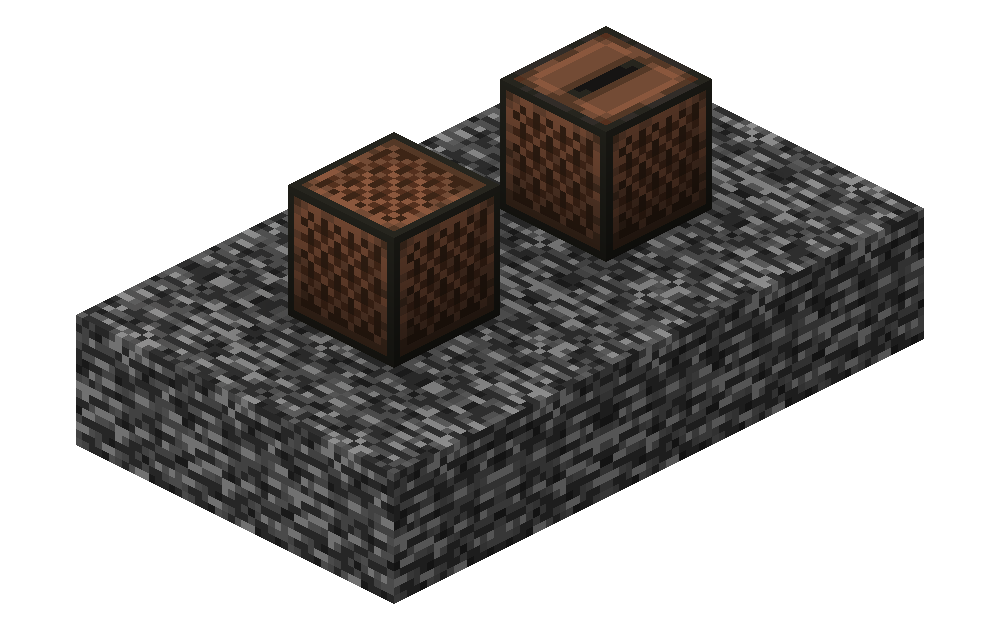
Juke Alert allows players to place "snitch" blocks to monitor and secure their land. To create a snitch, simply place and reinforce a Jukebox or Note Block using Citadel (/ctf).
Snitch Types
- Logging Snitches (Jukeboxes): Record detailed activity logs including player entry, block breaks, and block placements within its range.
- Notification Snitches (Note Blocks): Send immediate, real-time chat notifications to online group members whenever non-group players enter the area.
Main Command
| Command | Description |
|---|---|
| /jalist | Open the primary Juke Alert menu to view active snitches, inspect audit logs, and manage alerts. |
Finale
Finale modifies server combat to revert Minecraft PvP mechanics back to Minecraft 1.8 style combat. To maintain fair play, Finale enforces a strict maximum click rate cap of 4 CPS (Clicks Per Second).
Realistic Biomes
Depending on the biome, only specific crop types will grow, and crops require time to reach maturity.
All crops require adequate light to grow. Crop growth rates can be significantly boosted by placing clay blocks directly beneath the soil.
Descent Into Darkness
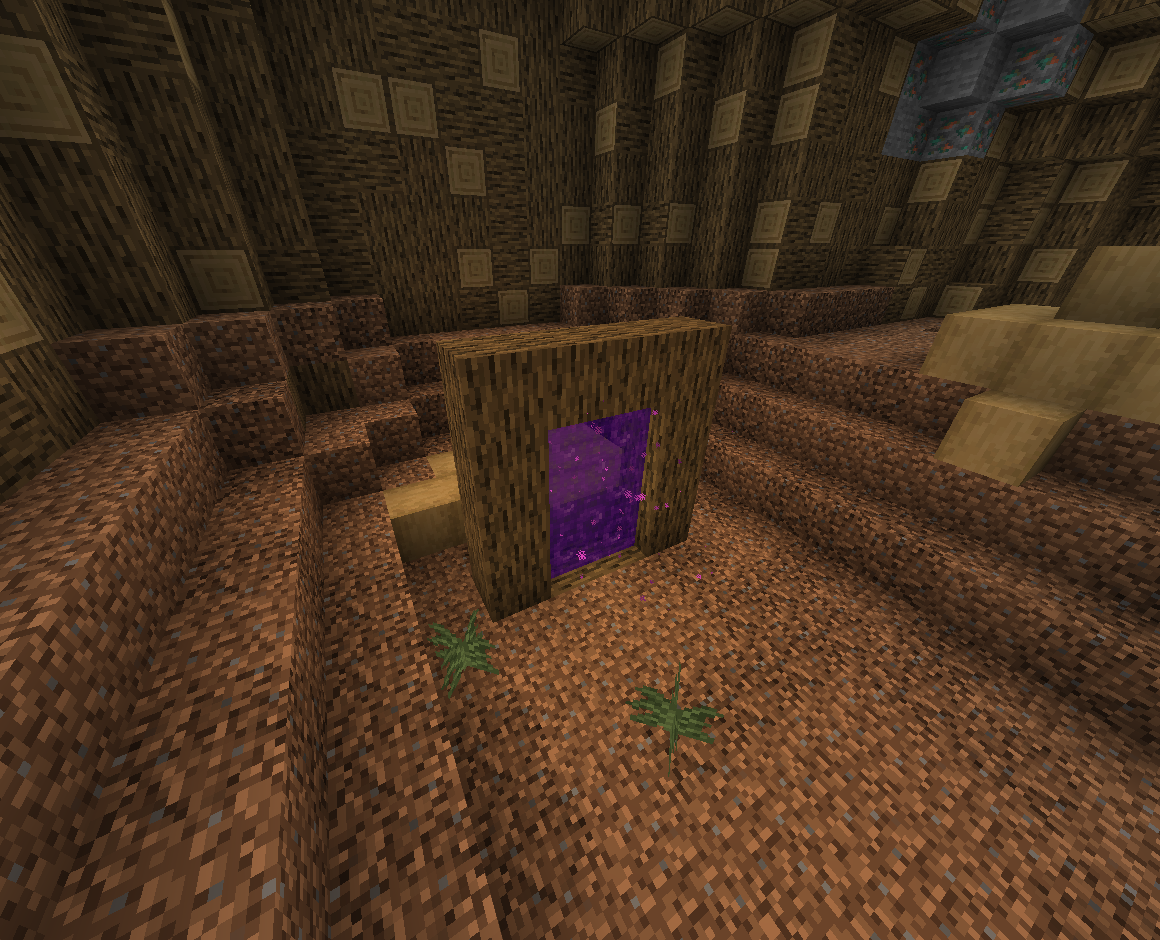
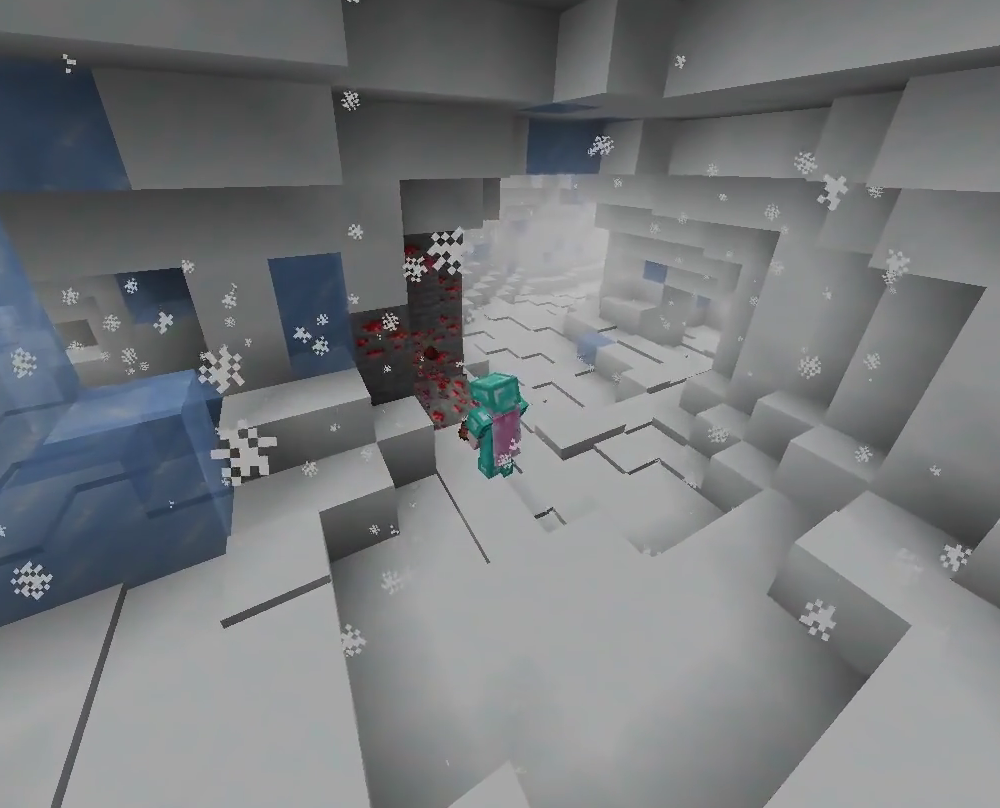
Descent Into Darkness is a custom exploration plugin that adds wild, custom cave dimensions. While mining in the world, players can discover special entrance blocks. Accessing these blocks teleports you directly into custom cave systems filled with unique mobs, rare ores, and wild underground terrain.